Splitting
Splitting a hive of native bees is an exhilarating experience. You get to see the inner workings of a hive and more importantly, you get to help the bees create a whole new colony! We do not recommend you try to split a hive unless confident in the process. A good way to learn this is to attend a workshop with us or get us to come and split your hive the first time so we can run you through process for the first time.
To extend on our propagation tips article last year i wanted to provide some extra instruction for splitting our hives.
The best time to split a native bee hive is during the warmer months, typically between September-December, depending on your location (if you are located further south it is generally better to wait till later in the season. If further north, you can begin splitting earlier if there is ideal conditions). Avoid splitting in cold or wet conditions, as this can stress the colony and reduce its chances of survival.
What You Need
A strong, mature hive (weighing at least 5.5kg)
An empty hive box
A hive tool
Insect net for your head (optional, stingless bees don't sting but may do small bites on soft skin areas)
Cloth tape
A clean mobile workspace with minimal disturbance
Step-by-Step Guide
1. Prepare the New Hive Box
Make sure your empty hive box is clean and dry. Some keepers pre-load a small amount of old propolis or wax to help the bees build up their new hive quicker.
2. Open the Original Hive
Carefully, remove tape and open the mature hive by separating the top and bottom brood sections with a hive tool. Take your time and keep the disturbance to a minimum. Our hive have in built separation panels that can easily be separated with the hive tool.
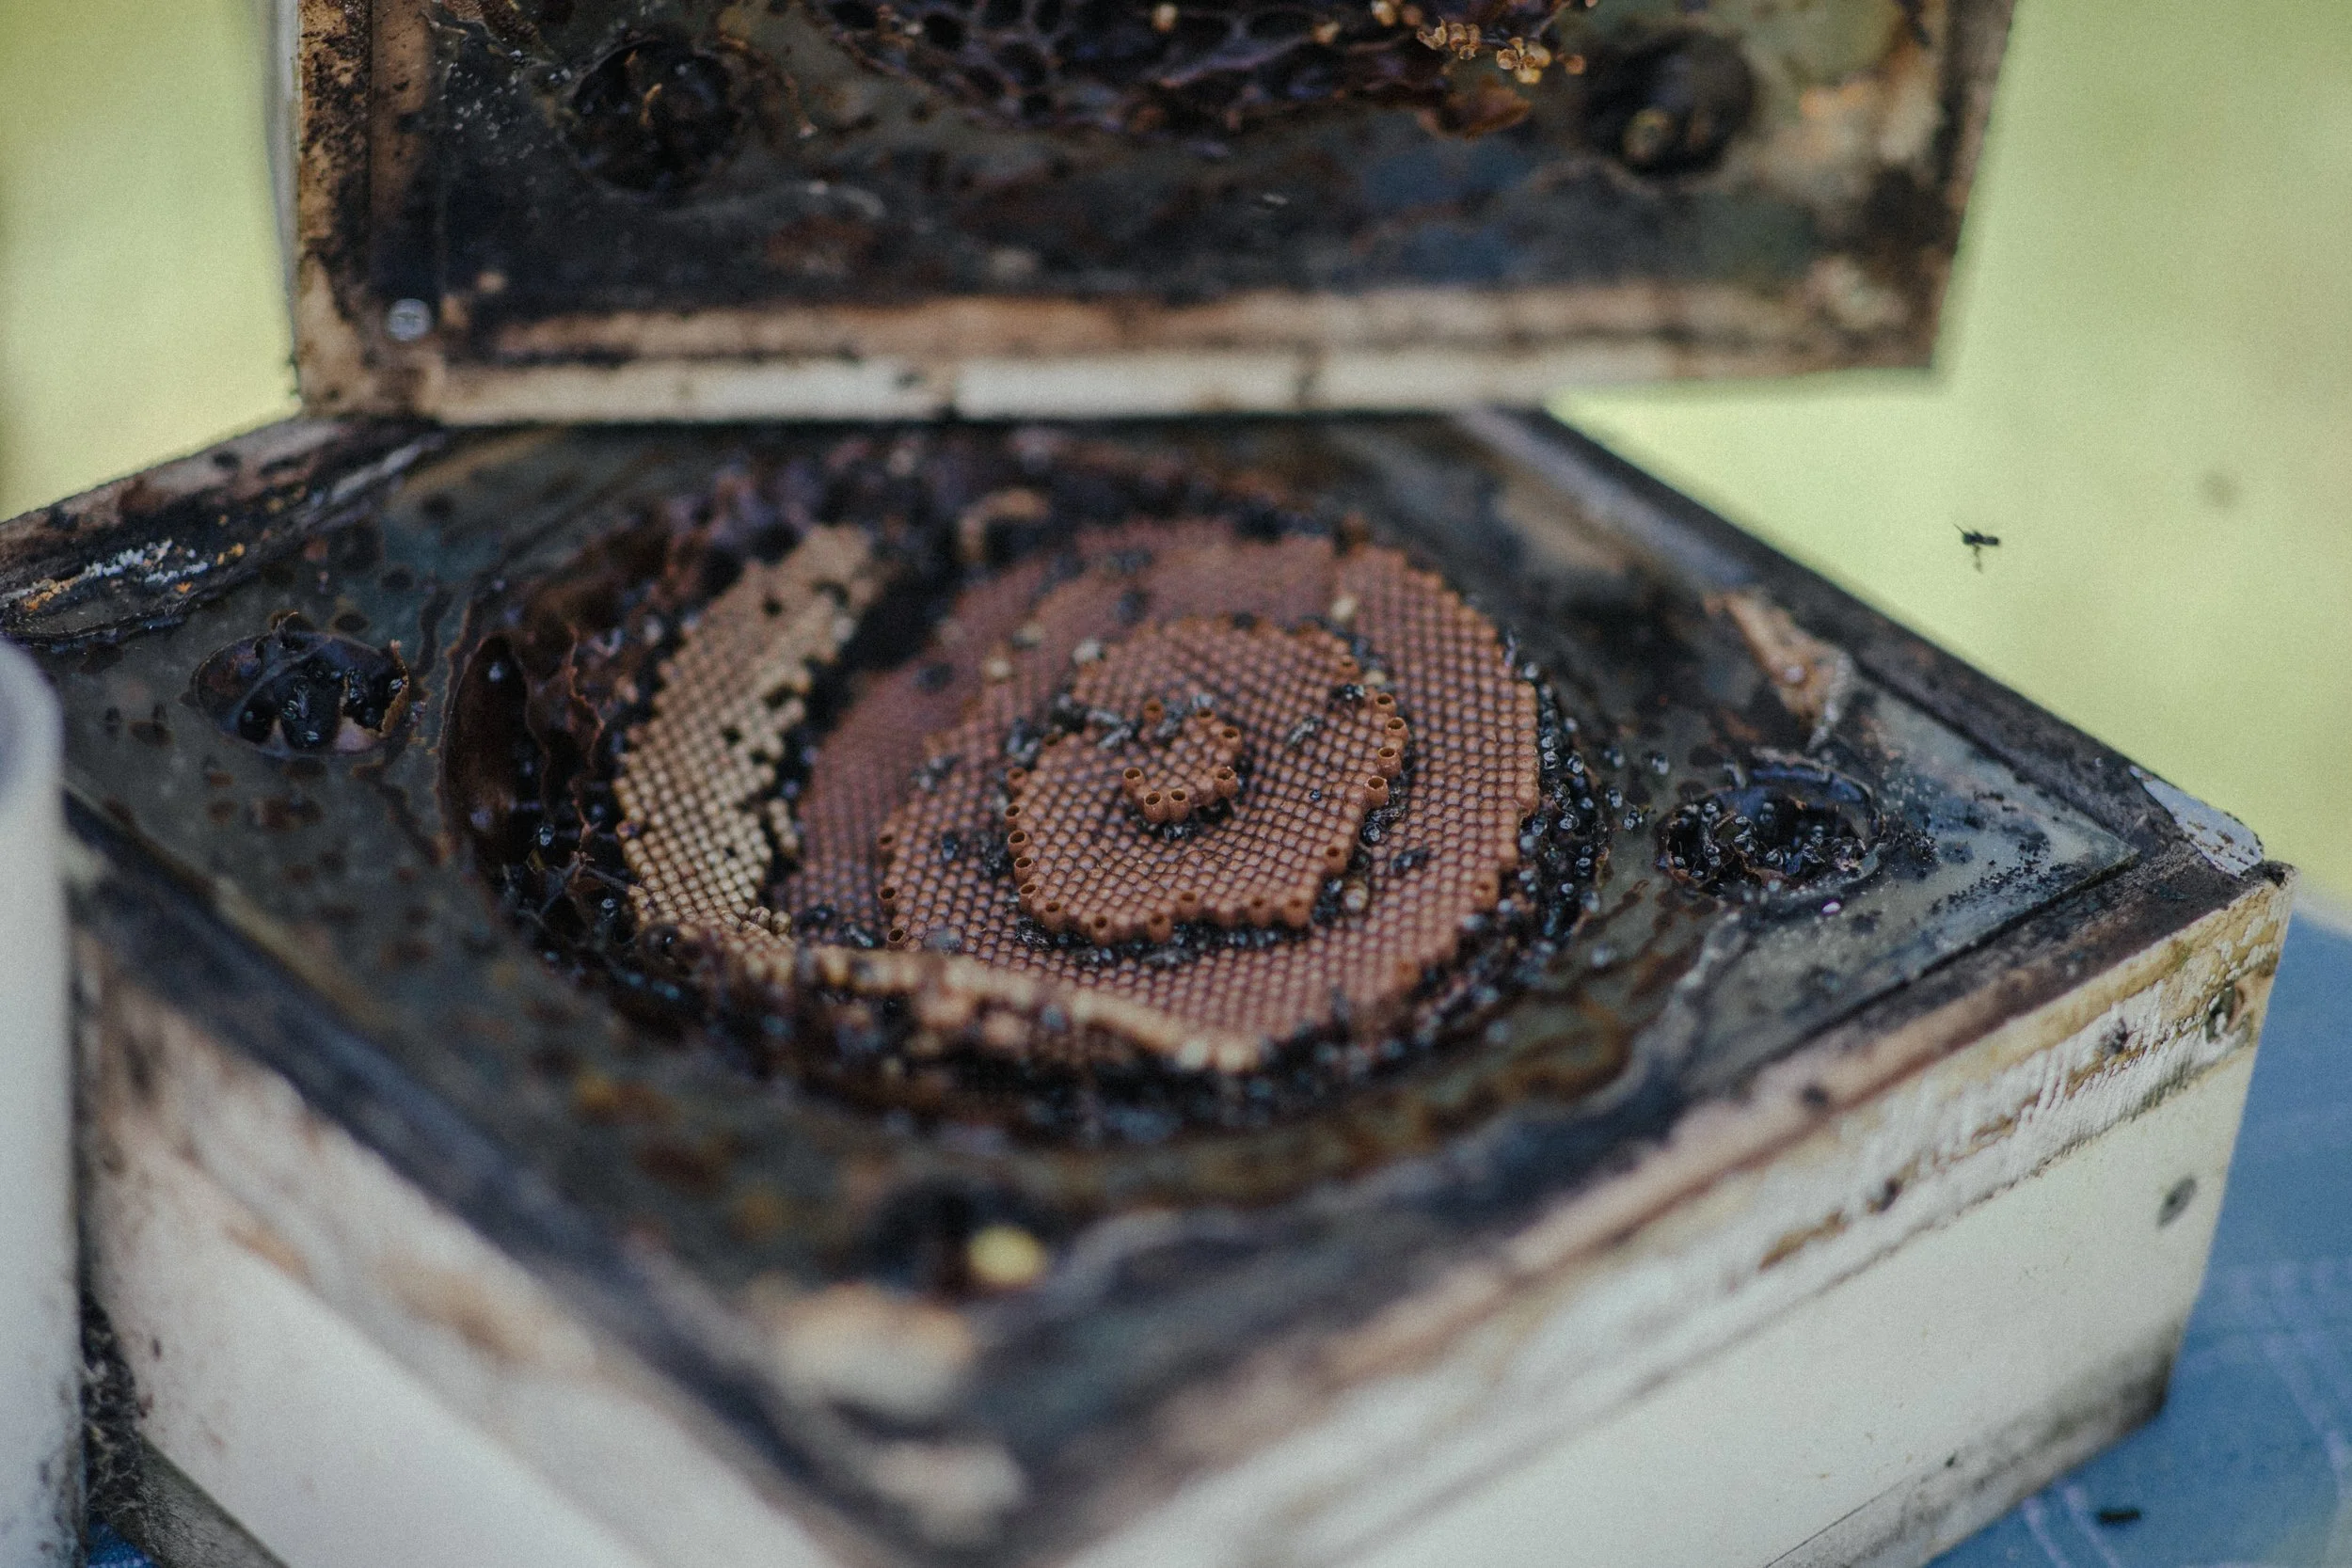
3. Identify the Brood
Look for the brood structure—usually located in the center of the hive and shaped like a spiral or cluster. A large brood volume in both halves is essential for the new colonies survival. Sometimes it is necessary to cut the brood to fully separate the top from the bottom brood box.
4. Assess hive health
You need to assess if the hive is ready to be split. To do this you need to ensure each half has a good portion of brood and food stores (honey and pollen pots). Always err on the side of caution here. It is better to leave your hive if you arent fully happy with the amount of brood in both halves.
5. Assemble the Hives
Place each half of the brood into the new matching boxes and reassemble the hives. Place both hives back in place but put the hive with the empty base in the original position as it is the weaker of the two and has no entrance tunnel yet. Leave them in position for 1 month then you can move hives as normally recommended to separate them (either move over 1km away for 4 weeks after bees have returned home in the evening, or move 30-50cms per day to new location)
6. Secure and Monitor
Ensure cloth tape has a firm application to secure the boxes together and guard against pests.. Keep an eye on both hives over the next few weeks to ensure activity levels remain strong and that the new queen was raised successfully.
Final Tips
Only split hives that are strong and healthy.
Avoid splitting during drought or poor flowering seasons.
If unsure, give us a call to come assist.